Hey Diva dressing fans! When the items we love coincide with brands we work with, Diva dressing will use Paid Links in our articles. If you decide to click on these links and purchase the product, we get a small commission. Our Opinions Are Our Own, but we do add Paid Links as a way to offer these products at no added cost to our readers. Want to know more? Click Here to check out our Terms of Use anytime!
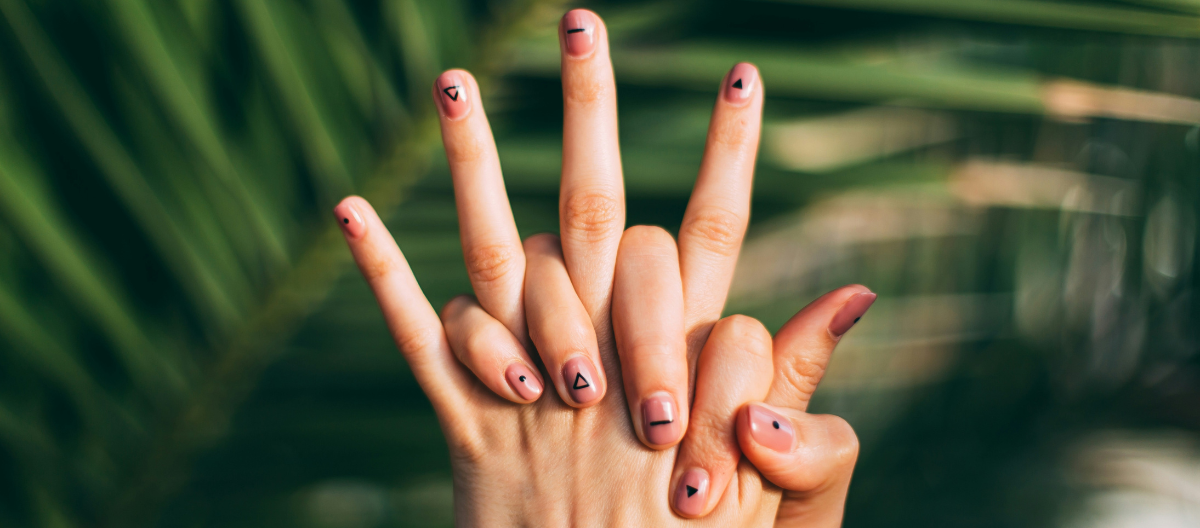
Traditional manicure, with its warm water soaks and fragrant baths, has long been a staple of nail care. However, a growing trend in the beauty world is the waterless manicure, also known as a dry manicure. This method skips the water soak and focuses on nail health and efficiency, making it a preferred option in many modern nail salons.
Benefits of Waterless Manicures
Waterless manicures offer several benefits over traditional wet manicures. They’re better for nail health, more hygienic, and can extend the life of your polish. Here are some key advantages:
Improved Nail Health
Soaking your nails in water can cause them to absorb excess moisture, leading to temporary expansion. Once the nails dry and contract again, the polish can crack or chip more easily. A waterless manicure eliminates this issue, keeping your nails dry and stable for longer-lasting results.
- No Expansion and Contraction of Nails: By skipping the soak, your nails retain their natural shape and won’t expand or soften before the polish is applied, resulting in less chipping and cracking.
- Stronger Nails: Water can weaken nails by making them soft and prone to peeling or breaking. A dry manicure helps keep them strong.
Longer-Lasting Manicure
Without the expansion and contraction caused by water, nail polish adheres better to the nail plate. This results in a longer-lasting manicure, as the polish is less likely to peel or chip prematurely.
More Hygienic
Water can sometimes harbor bacteria or fungi, making traditional manicures less sanitary if the soaking bowls aren’t properly cleaned. A waterless manicure avoids this risk altogether, reducing the chance of infections or fungal growth.
- Fewer Chances of Infections: Dry manicures limit the exposure to moisture, which can reduce the risk of bacterial infections, particularly in nail salons where multiple clients are served.
- Reduced Risk of Cross-Contamination: Since no water bowls are shared, there’s a lower chance of spreading bacteria or fungus between clients or across different nail treatments.
Faster and More Efficient
Waterless manicures are more efficient because you don’t have to wait for your nails to dry after soaking them. It cuts down on overall time, making it a great option for quick touch-ups or when you’re in a rush.
Better for Gel and Acrylic Applications
Gel and acrylic applications benefit greatly from dry nails, as water can interfere with the adherence of these products to the nail surface. A waterless manicure ensures a smooth, secure bond, preventing premature lifting or peeling.
How to Achieve a Waterless Manicure at Home
Now that you know the benefits of waterless manicures, here’s how to do one at home. Follow these simple steps to keep your nails healthy, polished, and looking their best.
Step 1: Clean Your Nails
Start by thoroughly cleaning your nails to remove any dirt, oil, or old polish. Use a non-acetone nail polish remover for this step, as it’s gentler on the nails and skin.
If your nails are particularly dirty, use a soft nail brush to scrub around the edges and under the nails.
Step 2: Trim and Shape Your Nails
Without soaking the nails, carefully trim them to your desired length using nail clippers. After trimming, use a nail file to shape them. For a waterless manicure, it’s best to file in one direction to avoid creating splits or cracks.
For best results, use a glass or crystal nail file, which is gentler on nails than a standard emery board.
Step 3: Gently Push Back Cuticles
Instead of soaking your hands in water to soften the cuticles, apply a cuticle softener or oil. Let it sit for a few minutes, then gently push back your cuticles using a wooden or rubber cuticle pusher. Avoid trimming your cuticles, as they act as a protective barrier against infections.
If your cuticles are dry or thick, reapply cuticle oil regularly to keep them soft and manageable.
Step 4: Buff the Nails
Use a nail buffer to gently smooth the surface of your nails. Buffing removes any ridges or rough spots and helps create a smooth base for your polish.
Be gentle while buffing. Over-buffing can thin your nails and make them more prone to breakage.
Step 5: Hydrate Your Hands and Nails
Apply a hydrating hand cream or nail oil to moisturize your hands, nails, and cuticles. Allow the product to fully absorb before proceeding to the next step.
If you’re using nail polish, avoid getting oil on the nail plate itself, as this can prevent the polish from adhering properly.
Step 6: Apply a Base Coat
Once your nails are prepped and clean, apply a clear base coat. This not only helps protect your nails but also ensures that the polish adheres better and lasts longer. Let the base coat dry completely before moving on to polish.
Choose a base coat with strengthening properties if your nails are prone to breaking.
Step 7: Apply Nail Polish
Now, it’s time for color! Apply your nail polish in thin, even layers. Start with one coat and let it dry before applying a second coat for full opacity. Avoid applying thick coats, as this can cause the polish to smudge or bubble.
Cap the free edge of your nails by lightly brushing the polish along the tip of the nail. This helps prevent chipping.
Step 8: Finish with a Top Coat
Seal in your polish with a clear top coat. A top coat adds shine, protects the polish, and helps it last longer by reducing the likelihood of chips and scratches.
For an extra-durable manicure, reapply a thin layer of top coat every 2–3 days.
Step 9: Dry the Nails
Since you haven’t soaked your nails in water, they’re already dry, so the polish will adhere more effectively. You can speed up the drying process by using a quick-dry top coat or applying a few drops of quick-dry oil to each nail.
Step 10: Rehydrate Your Cuticles
Once your polish is completely dry, apply cuticle oil around the edges of your nails to keep the skin soft and hydrated. Repeat this step daily to maintain healthy cuticles and prevent hangnails.
Additional Tips for Waterless Manicures
- Exfoliate Your Hands: Before starting your waterless manicure, exfoliate your hands with a gentle scrub. This removes dead skin cells and leaves your hands smooth and ready for moisturizing.
- Choose Non-Toxic Nail Products: Look for nail polishes and treatments that are free of harmful chemicals like formaldehyde, toluene, and dibutyl phthalate (DBP). Non-toxic formulas are gentler on your nails and overall health.
- Hydrate Regularly: Keeping your hands and nails hydrated between manicures is key to maintaining healthy, strong nails. Regularly apply hand cream and cuticle oil, especially after washing your hands.
Here are some products that can help
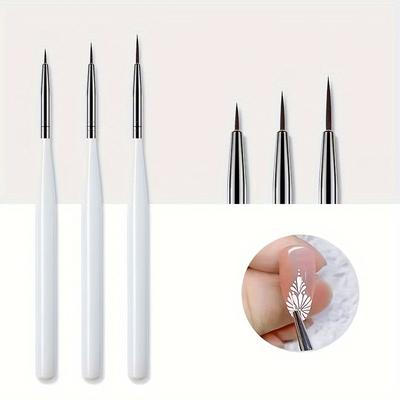
TEMU 3 Pcs Nail Liner Brushes For Manicure Pedicure $0.69
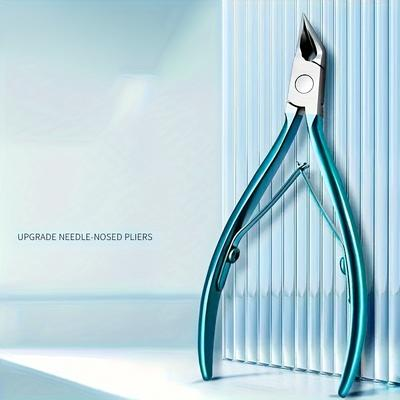
TEMU Precision Professional Nail Clippers $1.45
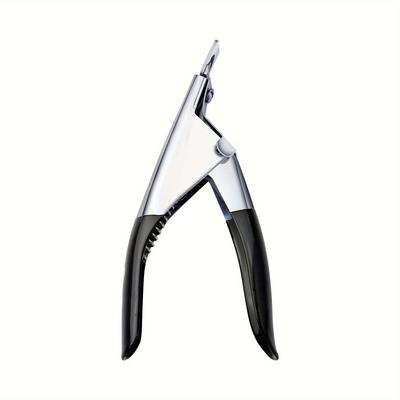
TEMU U-shaped Nail Clippers $1.77
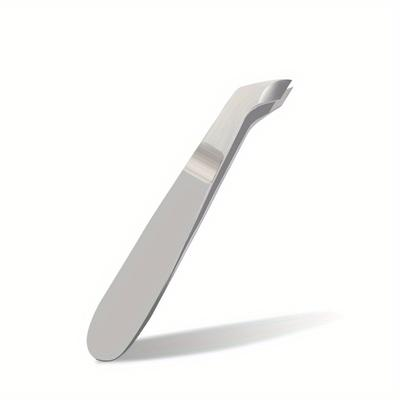
TEMU Portable Dead Skin Clipper Burr Nail Manicure Dead Skin Exfoliator $2.42
