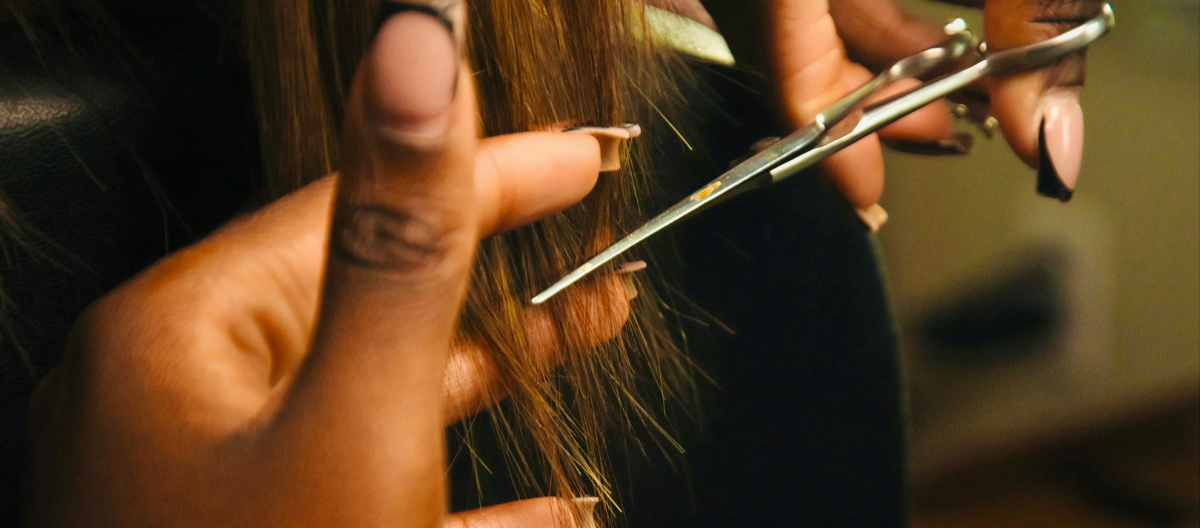
Giving yourself a haircut can be a rewarding and practical way to maintain your hairstyle between salon visits. While it might seem daunting, with the right tools, preparation, and techniques, you can achieve a professional-looking result at home.
Gather Your Tools
Before you begin, ensure you have the following tools:
Sharp Hair Cutting Scissors: Invest in high-quality, sharp hair cutting scissors. Avoid using regular household scissors, as they can cause split ends and uneven cuts.
Hair Clippers: For shorter haircuts or fades, a set of clippers with different guard sizes is essential.
Comb or Brush: A wide-tooth comb or a brush helps in detangling and sectioning your hair.
Hair Clips or Elastic Bands: These are useful for sectioning your hair and keeping it organized.
Mirror: A wall mirror and a handheld mirror are ideal for seeing the back of your head.
Spray Bottle: Fill it with water to lightly dampen your hair if needed.
Prepare Your Hair
Clean and Dry Hair: Start with clean, dry hair. While some people prefer to cut their hair wet, dry hair allows you to see how it will look in its natural state and helps avoid over-cutting. If your hair is curly or wavy, ensure it’s fully dry before cutting.
Detangle: Use a comb or brush to remove any knots or tangles from your hair. This step is crucial to ensure an even cut and prevent snags.
Create Sections: Divide your hair into manageable sections. For most haircuts, you’ll want to create at least four sections:
Top Section: From the top of your head down to the crown.
Side Sections: From behind the ears to the back of the head.
Back Section: The remaining hair at the back of your head.
Cutting Your Hair
Trim Ends: Start by trimming the ends of your hair. This is a basic cut that helps to remove split ends and refresh your style.
Comb Out: Comb through a small section of hair to ensure it’s smooth and straight.
Hold the Hair: Use your fingers to hold the hair at the desired length. The amount you cut will depend on how much you want to remove.
Cut: Using sharp hair scissors, make small, precise cuts. It’s better to start with less; you can always cut more if needed. Cut slowly and steadily, using the “point-cutting” technique (cutting with the tips of the scissors) for a more natural, blended look.
Layering Your Hair: If you want to add layers, follow these steps:
Section Hair: Take a section of hair from the top of your head.
Elevate: Hold the section of hair straight up and cut at an angle. The length of the cut will determine how short the layers are.
Blend Layers: Continue with the remaining sections, blending the layers as you go. For a seamless look, make sure each layer gradually blends into the next.
Cutting Bangs: Cutting bangs can be tricky, so proceed with caution:
Section Off Bangs: Isolate the portion of hair you want to cut as bangs.
Cut Gradually: Start by cutting a small amount. It’s easier to trim more if needed than to fix a cut that’s too short.
Check for Evenness: Regularly check that both sides are even.
Using Hair Clippers: For shorter styles or fades, hair clippers can be very effective:
Choose a Guard Size: Select the appropriate guard size for the length you desire.
Start from the Bottom: Begin clipping from the bottom and work your way up.
Blend: Use a different guard size to blend between different lengths.
Fine-Tune and Blend
Check Symmetry: Use a handheld mirror to inspect the back of your head and ensure that both sides are even. Make any necessary adjustments to achieve a balanced look.
Blend Lines: If you notice any harsh lines or uneven areas, use thinning shears or regular scissors to blend them. Gently snip at the edges to create a smoother transition between layers.
Shape the Hairline: Clean up the hairline around your neck and ears with clippers or scissors to give a neat finish.
Clean Up
Remove Hair: Sweep up or vacuum any fallen hair to keep your space clean. Hair clippings can be difficult to remove from surfaces, so it’s best to clean up promptly.
Wash Hair: Give your hair a final wash to remove any small cuttings that may have fallen during the cutting process. This also helps you see how the haircut looks once the hair is fully clean.
Post-Cut Care
Assess the Cut: After washing, check your haircut once more. Sometimes, hair may appear differently when wet. Make any final adjustments as needed.
Maintain Regular Trims: To keep your haircut looking fresh, schedule regular trims. Even minor touch-ups every few weeks can prevent split ends and keep your style in shape.
Additional Tips for Success
Go Slow and Steady: Take your time to avoid mistakes. It’s better to cut less and gradually adjust than to cut too much at once.
Use Guides: Watch tutorials or read guides specific to the style you want. Different haircuts may require different techniques.
Seek Professional Help if Needed: If you’re unsure or uncomfortable with the result, consider visiting a professional hairstylist. They can make adjustments or offer advice on maintaining your haircut.
By following these steps and being cautious, you can achieve a stylish and well-groomed look without leaving your home. With practice and patience, giving yourself a haircut can become a simple and rewarding part of your personal care routine.


