
Hey Diva dressing fans! When the items we love coincide with brands we work with, Diva dressing will use Paid Links in our articles. If you decide to click on these links and purchase the product, we get a small commission. Our Opinions Are Our Own, but we do add Paid Links as a way to offer these products at no added cost to our readers. Want to know more? Click Here to check out our Terms of Use anytime!
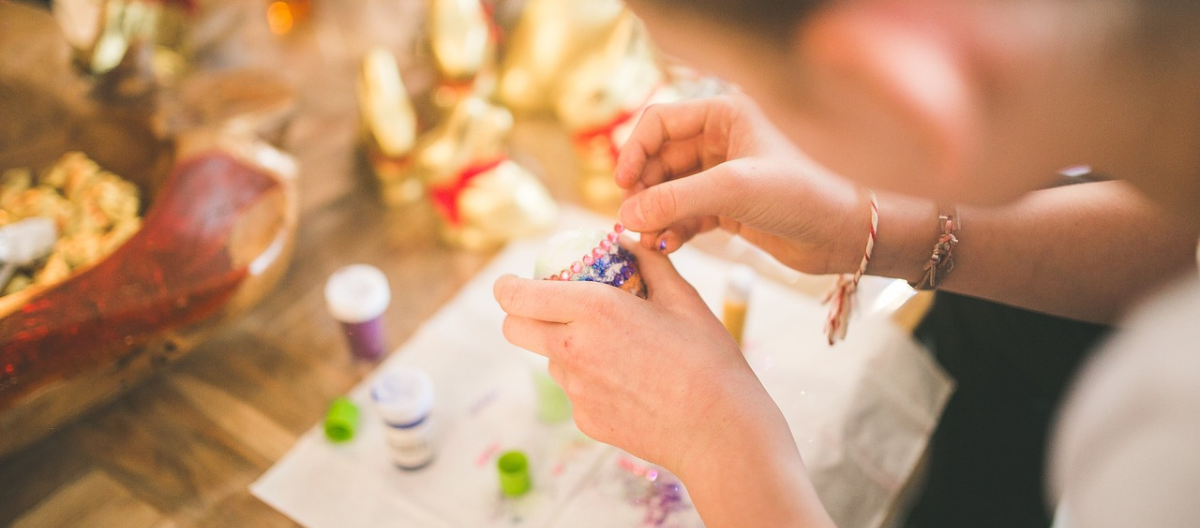
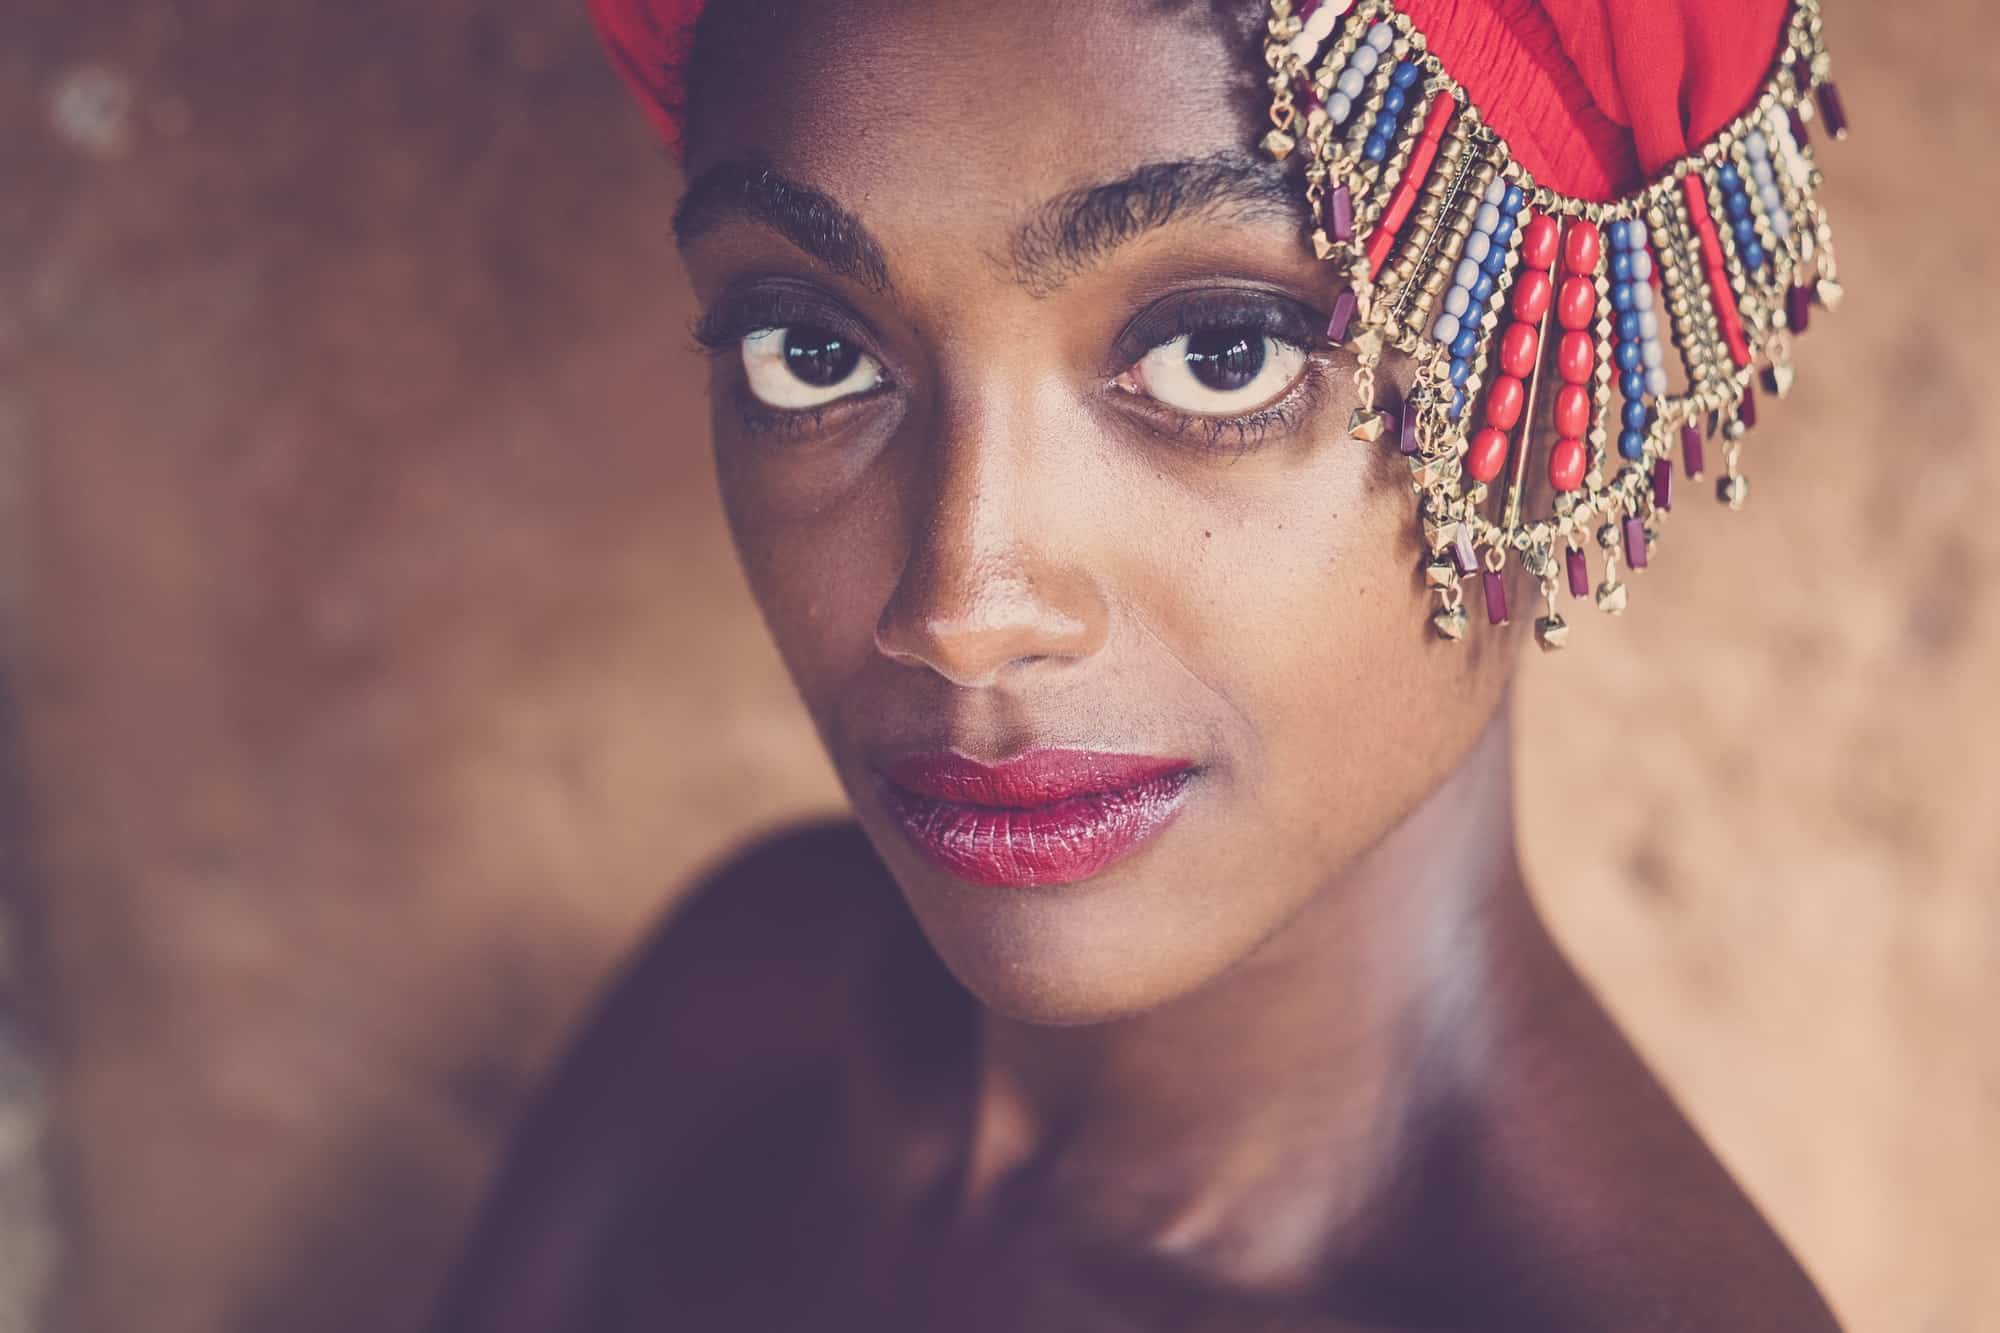
Creating DIY hair jewelry allows you to craft unique, personalized pieces that can elevate your hairstyles and make a statement. Whether you’re looking to add a touch of elegance to a special occasion or want to enhance your everyday look, making your own hair jewelry can be a fun and rewarding project. Here’s a guide on how to create custom hair accessories at home, complete with tips and ideas to get you started:
Materials You’ll Need
Beads and Gems: Choose a variety of beads, gemstones, and pearls to add texture and color to your hair jewelry. You can find these at craft stores or online.
Wire and String: Use jewelry wire or beading string for threading beads and creating designs. Opt for flexible wire if you want to make intricate shapes.
Hair Clips and Pins: These serve as the base for your hair jewelry. You can use bobby pins, alligator clips, or barrettes depending on your design.
Jewelry Tools: Essential tools include needle-nose pliers, wire cutters, and crimp beads. These will help you shape and secure your designs.
Glue and Adhesives: For additional security, especially with embellishments, use a strong adhesive like E6000 or a hot glue gun.
Jewelry Findings: Items like jump rings, clasps, and spacers can be useful for connecting different elements of your hair jewelry.
Step-by-Step Guide
Plan Your Design
Start by sketching your design or gathering inspiration from online sources. Decide on the type of hair jewelry you want to create, such as:
Headbands: Elegant and versatile, perfect for weddings or special events.
Hairpins: Ideal for adding a touch of sparkle to updos or braids.
Hair Combs: Great for incorporating intricate designs and larger embellishments.
Tiaras: For a more dramatic effect, suitable for formal occasions.
Prepare Your Base
Choose your base, whether it’s a hairpin, clip, or comb. If you’re using a clip or comb, you might need to remove any existing embellishments to make way for your design.
Create Your Design
Beaded Hairpins: Thread beads onto wire or string, creating patterns or shapes. Secure the ends of the wire with crimp beads and attach the beaded section to a hairpin using glue or by wrapping the wire around the pin.
Decorative Headbands: Attach beads, gems, or fabric flowers to a plain headband. Use glue for fabric or hot glue for heavier embellishments. For a more intricate design, you can sew elements onto the headband.
Hair Combs with Gems: Arrange gems or pearls on a hair comb. Secure them in place with glue or wire. You can also use small jump rings to attach beads to the comb.
Tiaras: Create a tiara by attaching beads and gems to a flexible wire frame. Shape the wire into a crown-like structure, securing each embellishment with glue or by threading wire through the beads.
Assemble and Secure
Once your design is complete, ensure all elements are securely attached. Double-check that there are no sharp edges or loose parts that might snag hair. If using glue, allow ample time for it to dry completely before wearing your hair jewelry.
Test Your Design
Try on your hair jewelry to make sure it fits well and stays in place. Adjust any elements if necessary to ensure comfort and functionality.
Tips and Tricks
Choose Lightweight Materials: To ensure your hair jewelry is comfortable, opt for lightweight beads and embellishments.
Mix and Match: Combine different textures and colors for a unique look. Metallic beads with pearls or gemstones can create a stunning effect.
Add Personal Touches: Incorporate initials, charms, or other personal elements to make your hair jewelry truly one-of-a-kind.
Experiment with Techniques: Try different techniques like wire wrapping or bead embroidery to add complexity to your designs.
Keep It Simple: If you’re new to DIY jewelry, start with simple designs and gradually experiment with more intricate patterns as you gain confidence.
Here are some products you can try
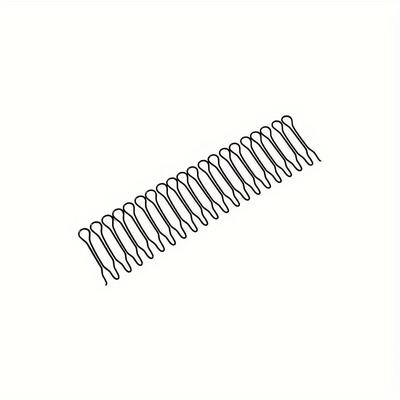
TEMU Elegant Metal Hair Side Combs $0.67
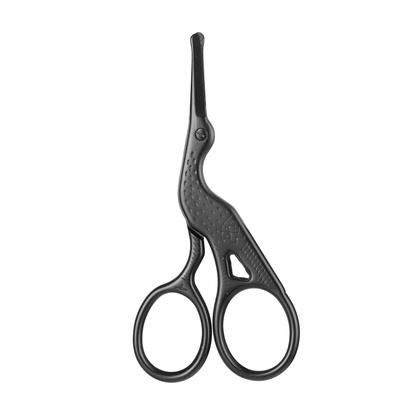
TEMU Safety Round Head Stainless Steel Nose Hair Scissors $0.73
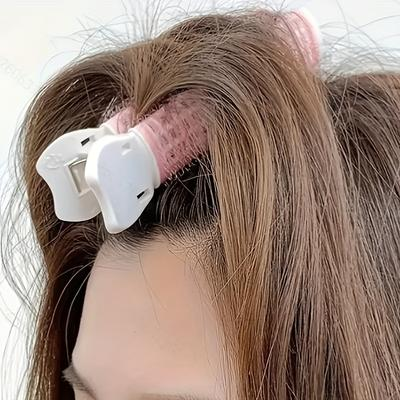
TEMU 1pc Volumizing Hair Clips $0.79
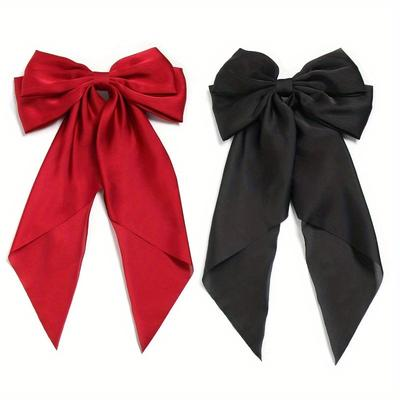
TEMU 2pcs, Adorable Elegant Bow Hair Clips $1.09
